# 5. RaccoonLab Programmer-Sniffer Shipping guide
Here is the instructions about how to update the RaccoonLab programmer firmware itself. Below there 2 options are suggested.
# Option 1: Update Firmware with ST-LINK Utility (by USB)
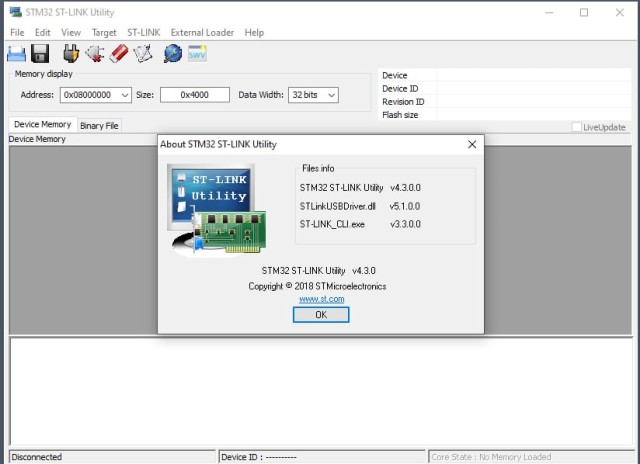
- Download & Install ST-LINK Utility v4.3.0
Ensure you have the ST-LINK Utility v4.3.0. If not, you can download it from this link (opens new window). If you have an other version, you might need to uninstall it first before installing this one.
WARNING
Ensure you are using the exact version 4.3.0 of ST-LINK Utility. You can verify this by checking in the Help menu. For example, version 4.6.0 doesn't work.
Connect the Programmer: Attach your programmer-sniffer to your PC using a USB cable.
Launch ST-LINK Utility: Start the application on your computer.
Firmware Update:
- Navigate to the menu and select
ST-LINK -> Firmware update. 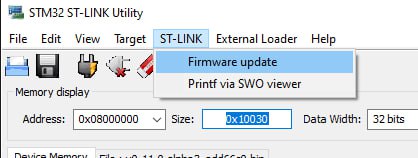
- A new window will pop up. Click on
Device Connect. If you encounter a connection error, you may need to try connecting multiple times. - Upon successful connection, select Product Option
STM32+MSD+VCPand pressYesto initiate the firmware update process. 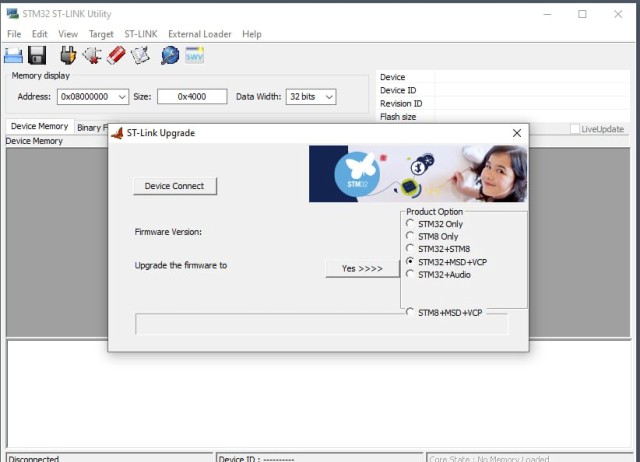
- Navigate to the menu and select
Discronnect the device and then close the application
# Option 2: Update Firmware with Another Programmer
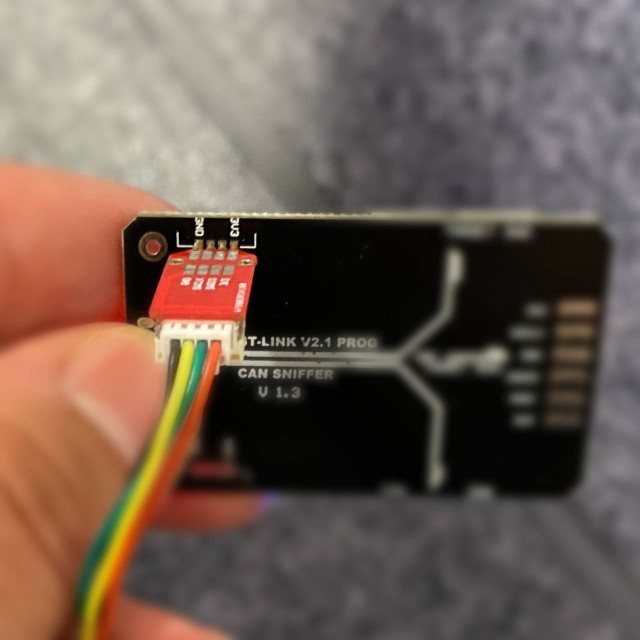
Establish Connection:
- Using the SWD and needle connectors, establish a connection to the programmer as previously done for other nodes.
ST-LINK Utility Procedure:
- Start the ST-LINK Utility and from the main menu, select
Target -> Connect. - Next, go to
Target -> Program & Verify. - For the firmware, use this file (opens new window).
- Further details on this process can be found in the Programmer usage section mentioned above.
- Start the ST-LINK Utility and from the main menu, select
Alternative Firmware Update:
- If required, you can also use the firmware update method from ST-LINK Utility (
ST-LINK -> Update Firmware) as explained in Option 1.
- If required, you can also use the firmware update method from ST-LINK Utility (