# 3. Programmer
For programmer usage please refer to the Update the firmware section. It explains a few ways how to upload firmware with different types of programmers.
The following options are suggested:
| № | Programmer | OS | Software | Tutorial |
|---|---|---|---|---|
| 1 | RL-programmer 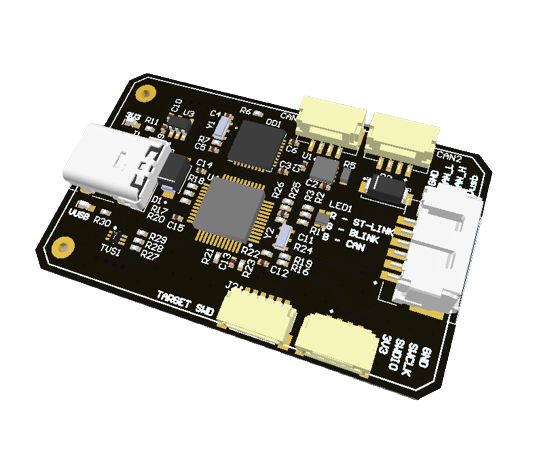 | Windows | STM3CubeProgrammer | RL-programmer on Windows with STM3CubeProgrammer |
| 2 | RL-programmer | Ubuntu | st-link | RL-programmer on Linux with stlink |
| 3 | RL-programmer | Windows | ST-Link utility | RL-programmer on Windows with ST-Link utility |