# 5. Shipping guide
# Step 1. Download latest firmware
| Device | DroneCAN | Cyphal |
|---|---|---|
UAV Lights  | v0.8.8-stable (opens new window) (Jun 7, 2022) | v0.2.3 (opens new window) (Dec 27, 2023) |
# Step 2. Upload firmware
You have a few options here based on what hardware do you have, your OS and preferable software:
| № | Programmer | OS | Software | Tutorial |
|---|---|---|---|---|
| 1 | RL-programmer 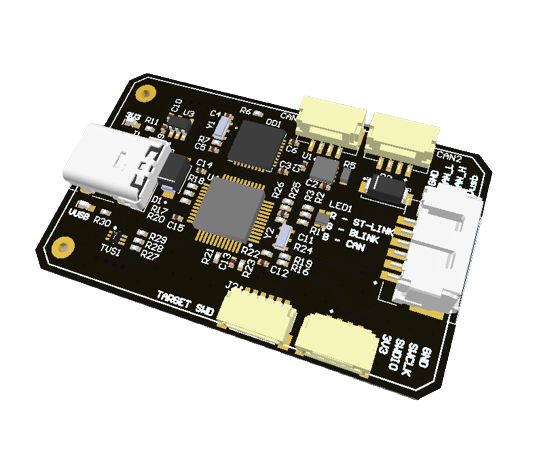 | Windows | STM3CubeProgrammer | RL-programmer on Windows with STM3CubeProgrammer |
| 2 | RL-programmer | Ubuntu | st-link | RL-programmer on Linux with stlink |
| 3 | DronecodeProbe  | Ubuntu Windows | gdb | Dronecode probe on Linux/Windows |
| 4 | RL-programmer | Windows | ST-Link utility | RL-programmer on Windows with ST-Link utility |
| 5 | ST-Link | Windows | ST-LINK |
# Step 3. Verification
TIP
The following steps works only on UAV-Lights v2.1 or v2.2 and Cyphal software v0.2.3 or newer.
WARNING
When you work with a node, keep in mind the following:
- A node at a full brightness consumes ~ 240 mA on 5V.
- A node at a full brightness rapidly raises the temperature. It will automatically reduce the brightness when the temperature exceeds 60 C. It will even disable all lights if the temperature exceeds 80 C.
These facts lead to the following recommendations:
- Do not connect more than one UAV Lights node to a sniffer.
- Do not enable full brightness when you power a node from a sniffer. Anyway, without an explicit command the node's brightness is ~2%, so it is fine.
- Take care of your eyes.
Let's say, you successfully uploaded the latest firmware to the target as described on the previous steps.
It's time to verify that everything is fine.
Power up the device via the CAN connector.
An example of the connection scheme is shown below:

Alternatively, you can power a UAV Lights node with power supply source with higher voltage with CAN Molex-6 pin connector.
Verify external RGB LEDs during the device initialization (~1.3 sec).
The UAV Lights node should enable all 32 external RGB LEDs (on from side of the node) one after one. They all should blink with white color with very low brightnesss as shown velow:
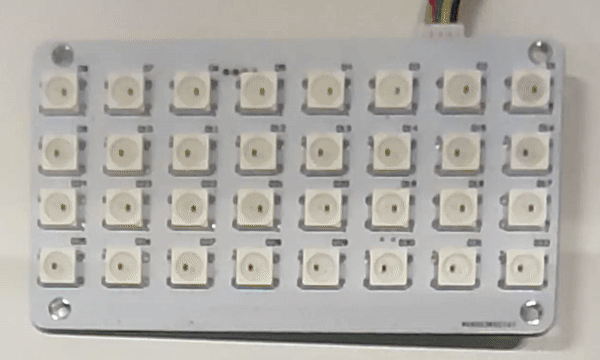
If the color of one of the LEDs is not white or it is disabled, it means a hardware issue.
The internal LED (on the back side of the node) at the moment (cyphal software v0.2.3) doesn't have a specific color for the initialization mode, and should just blink with BLUE or GREEN color with 1 Hz rate.
After initialization the node goes into the default mode until it receives a command from a user.
- All external RGB LEDs should have WHITE color of very low brightnesss
- The internal LED should just blink with BLUE or GREEN color with 1 Hz rate.