# Small quadcopter based on PX4
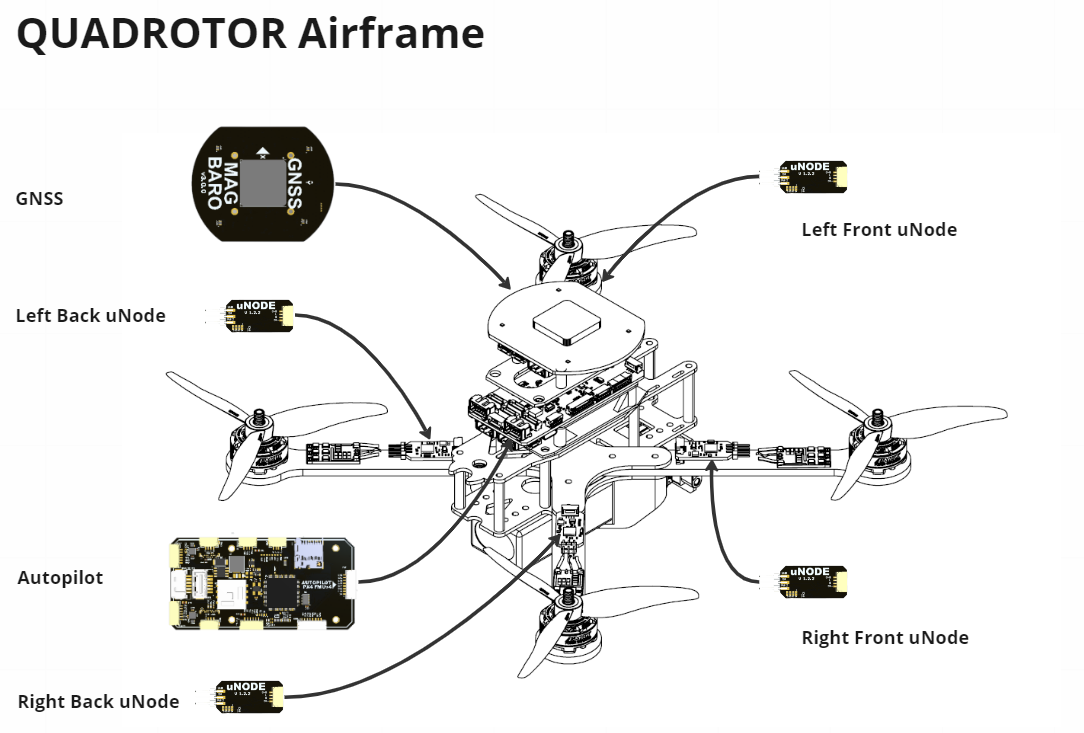
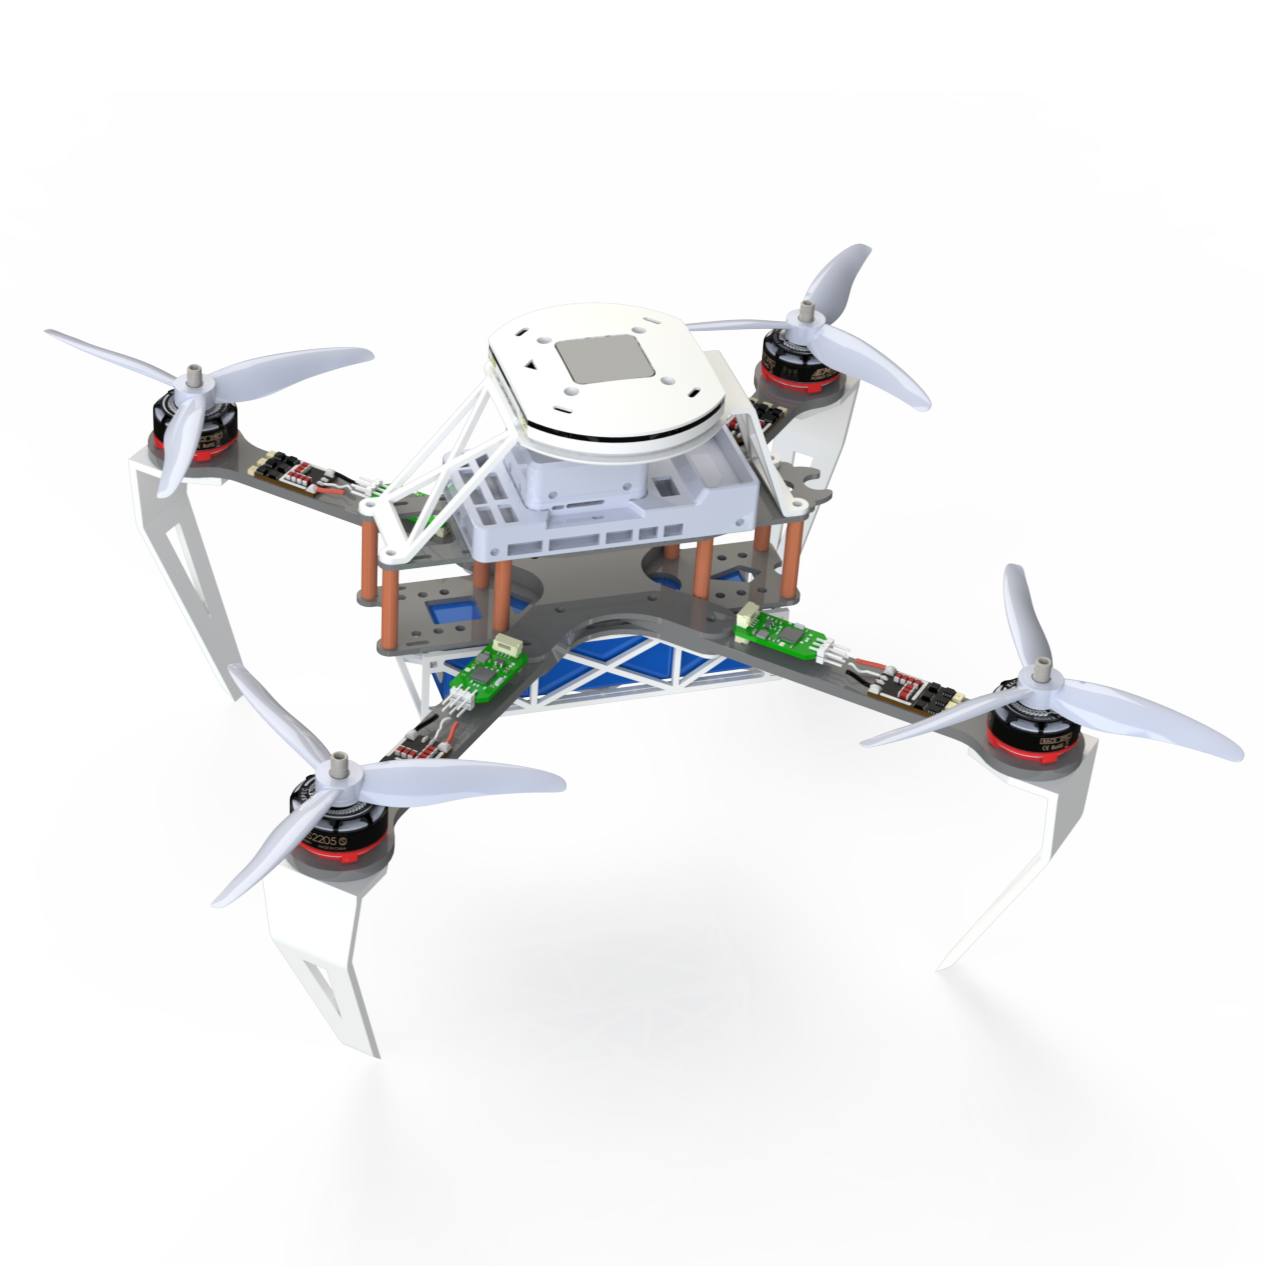
This example is based on Cyphal/DroneCAN Quadcopter KIT.
 |  |
# CONTENT
- Prerequisites
- Connection diagram
- Layout
- Autopilot configuration
- Nodes configuration
- Pre-flight tests
- Flight tests
- Post-flight analisys
# 1. Prerequisites
It has the following RaccoonLab devices:
| № | View | Device |
|---|---|---|
| 1 | 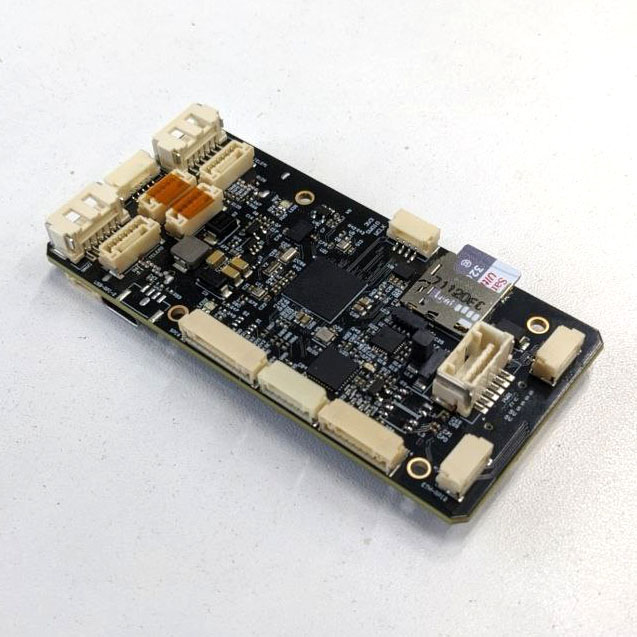 | RL Autopilot v6x |
| 2 | 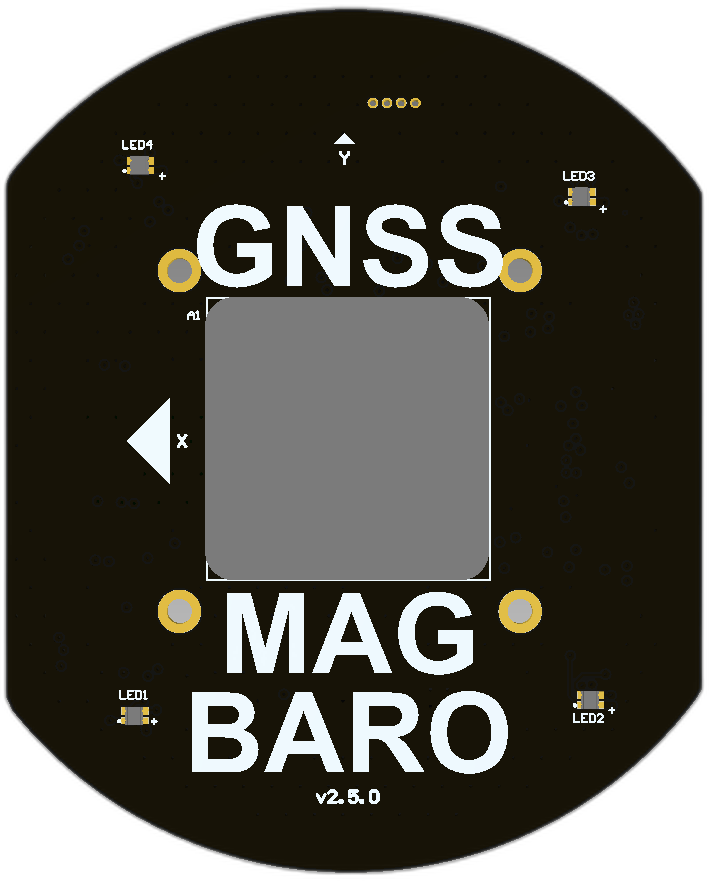 | co.rl.gnss v2.5.0 NEO-M8N |
| 3 | 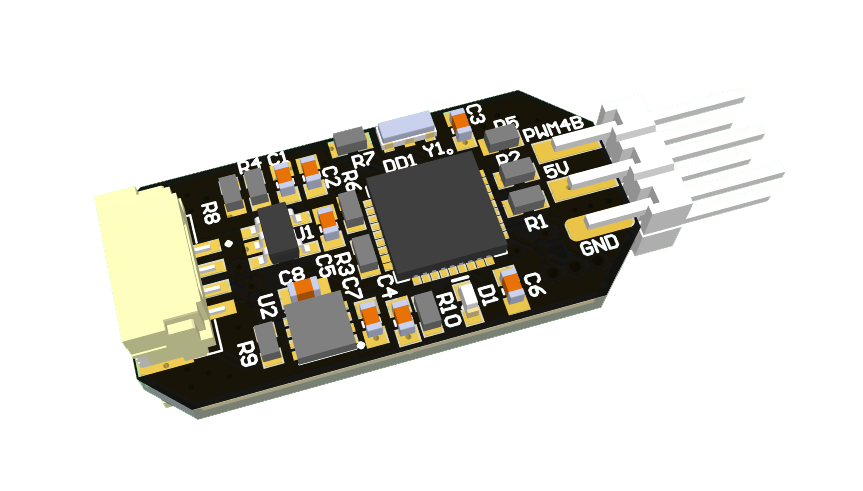 | co.rl.micro v1.2.2 x4 Each node is used for a separated motor control: - 0: right front - 1: left rear - 2: left front - 3: right rear |
| 4 | 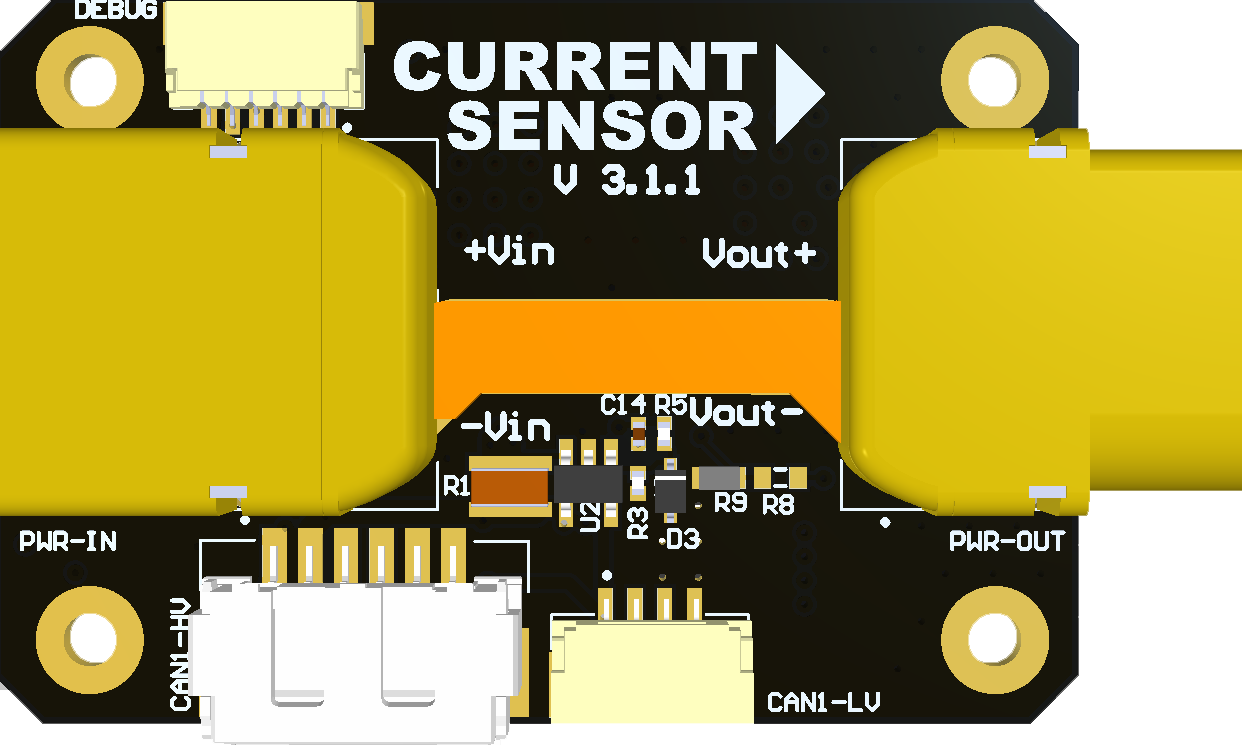 | co.rl.power v3.1.0 |
| 5 | 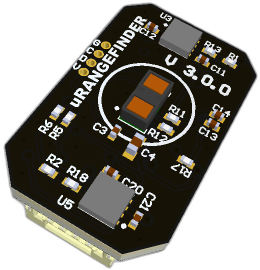 | co.rl.range v3.0.0 |
| 6 | 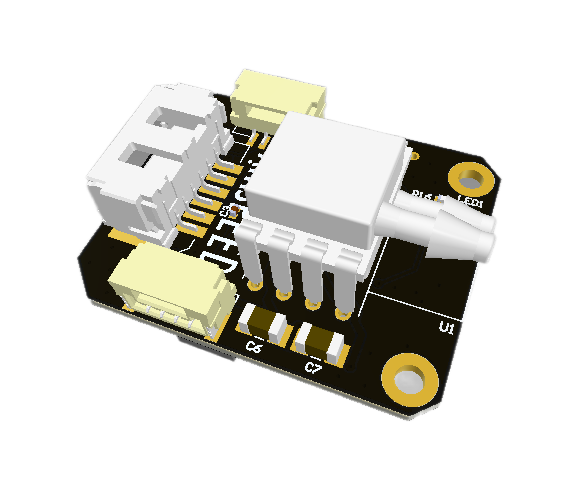 | co.rl.airspeed v3.0.0 |
Here is a list of all the things you will need.
| N | Name Link | Description | |
|---|---|---|---|
| 1 | ESC regulator (opens new window) | https://grabcad.com/library/hglrc-30a-brushless-esc-1 | |
| 2 | BLDC motors (opens new window) | https://grabcad.com/library/emax-rs2205-s-2300kv-brushless-motor-1 | |
| 3 | Frame (opens new window) | https://grabcad.com/library/hskrc-xl7-1 | |
| 4 | Prop | https://grabcad.com/library/gemfan-hurricane-51466-propeller-1 | |
| 5 | Battery | https://grabcad.com/library/turnigy-2200mah-3s-20c-lipo-pack-1 |
# 4. Autopilot configuration
Step 1. Load firmware and reset settings
Load the latest stable firmware and reset all settings to default.
Step 2. Select the airframe
It should be Generic Quadcopter (opens new window) airframe with SYS_AUTOSTART = 4001.
Step 3. Configure Actuators
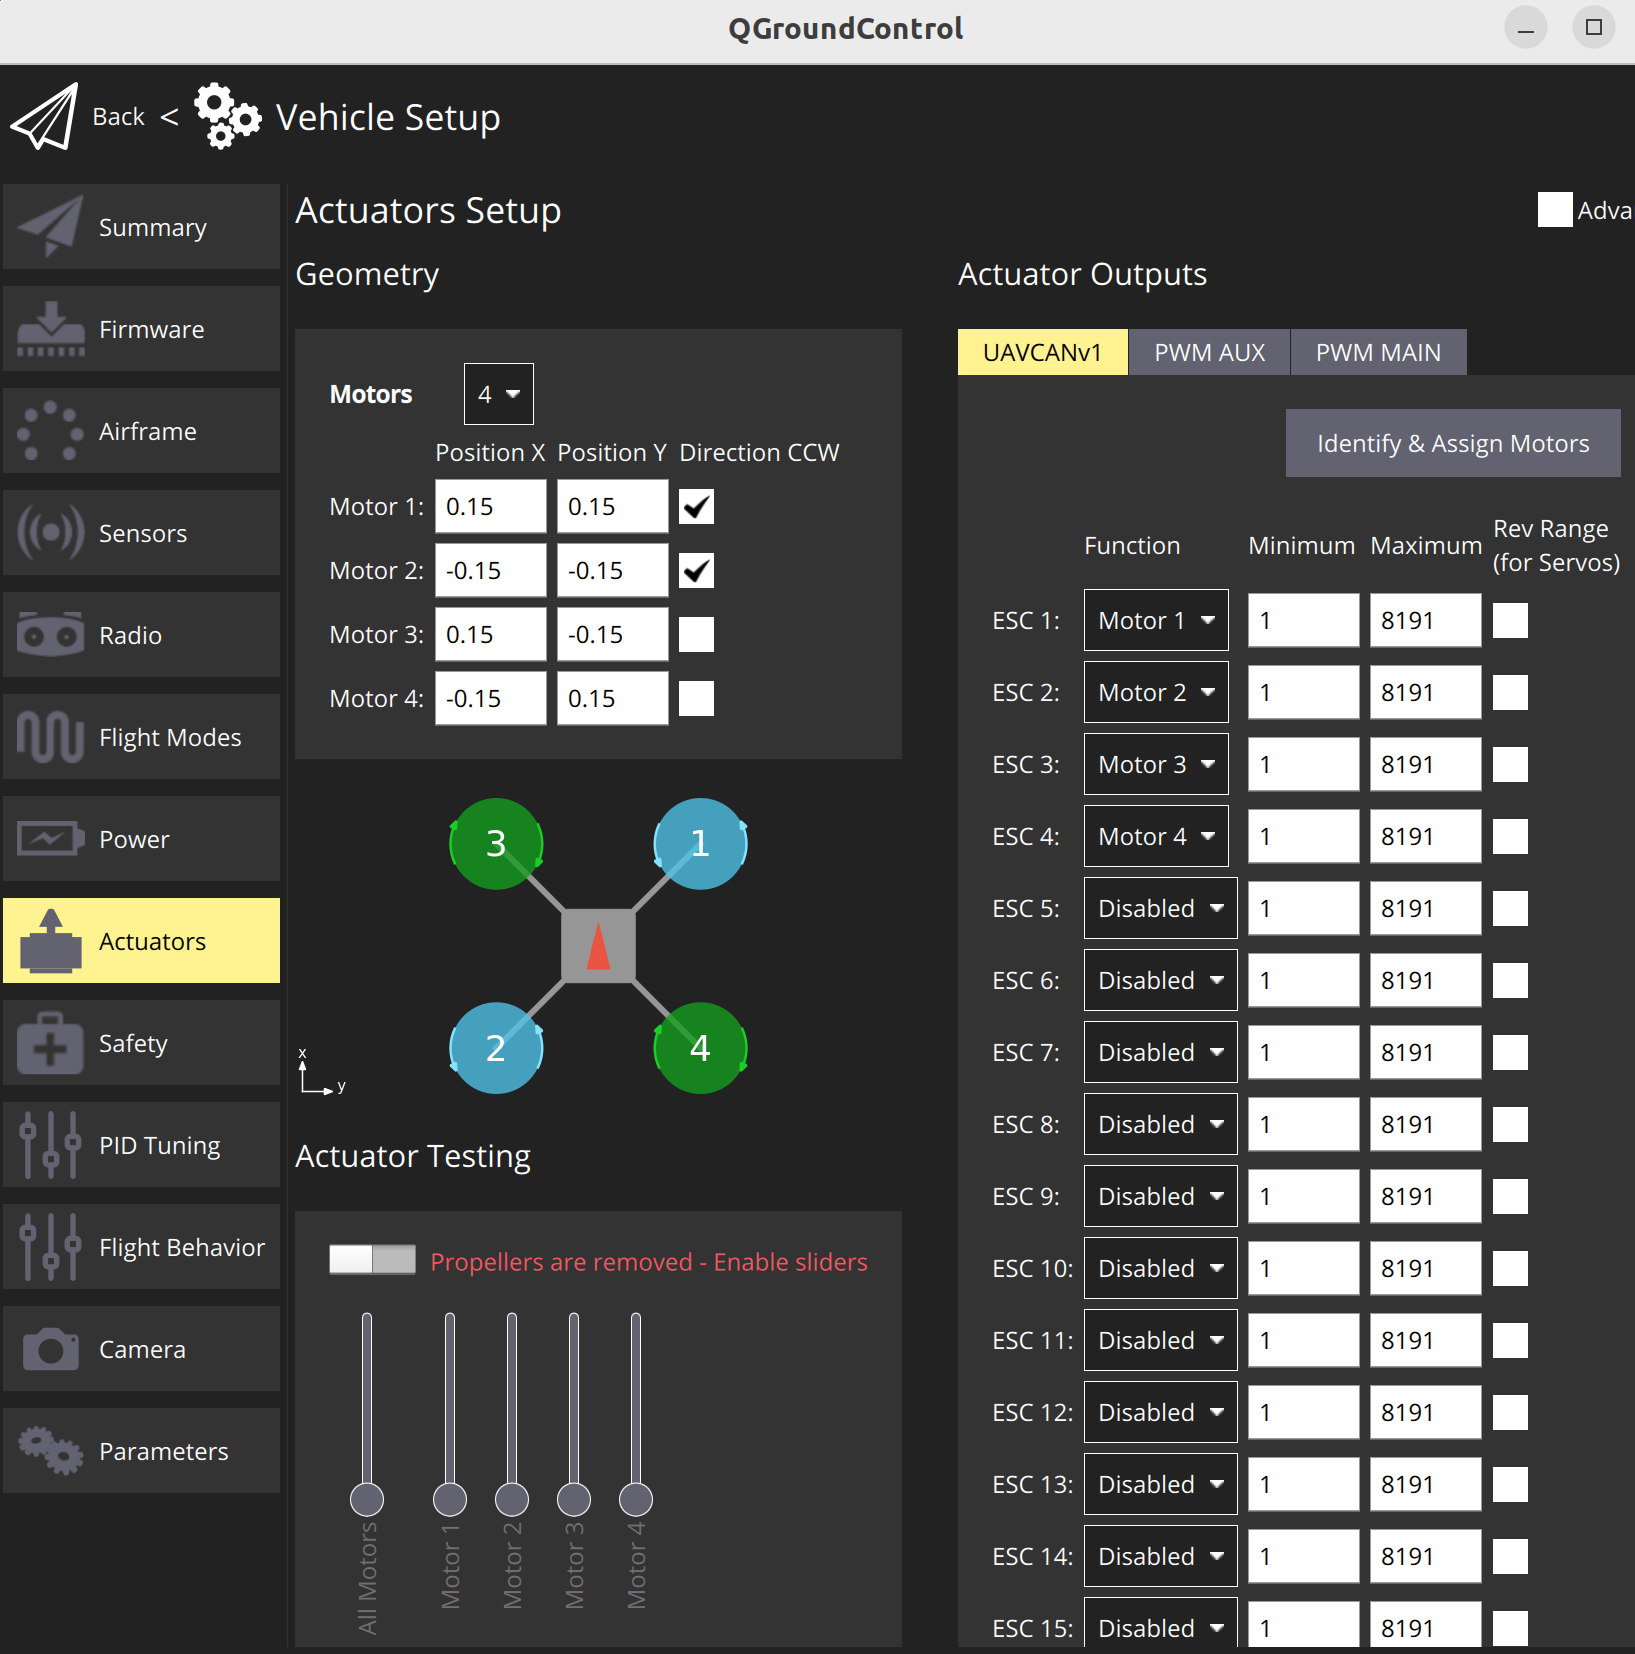
Step 4. MAVLink Console
Type uavcan status in MAVLink Console. You should get a similar response:
Sensor: uavcan_baro
channel 0: node id 74 --> instance 2

Sensor: uavcan_battery
channel 0: node id 31 --> instance 0
channel 1: node id 11 --> instance 1

Sensor: uavcan_differential_pressure
channel 0: node id 79 --> instance 0

Sensor: uavcan_gnss
channel 0: node id 74 --> instance 0

Sensor: uavcan_mag
channel 0: node id 74 --> instance 1

Sensor: uavcan_rangefinder
channel 0: node id 61 --> instance 0

Online nodes (Node ID, Health, Mode):
     11 OK         OPERAT
     21 OK         OPERAT
     22 OK         OPERAT
     23 OK         OPERAT
     24 OK         OPERAT
     31 OK         OPERAT
     61 OK         OPERAT
     74 OK         OPERAT
     79 OK         OPERAT
     127 OK         OPERAT
Step 5. Check all components
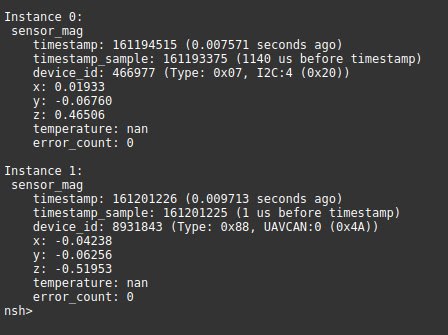
# 5. Nodes configuration
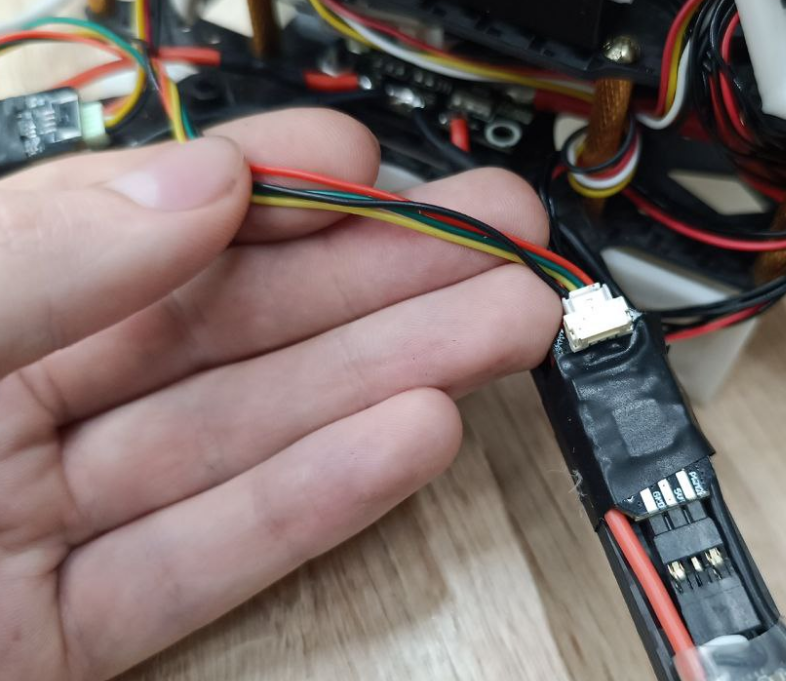
- Power the drone. Connect you computer with CAN bus via CAN-sniffer.
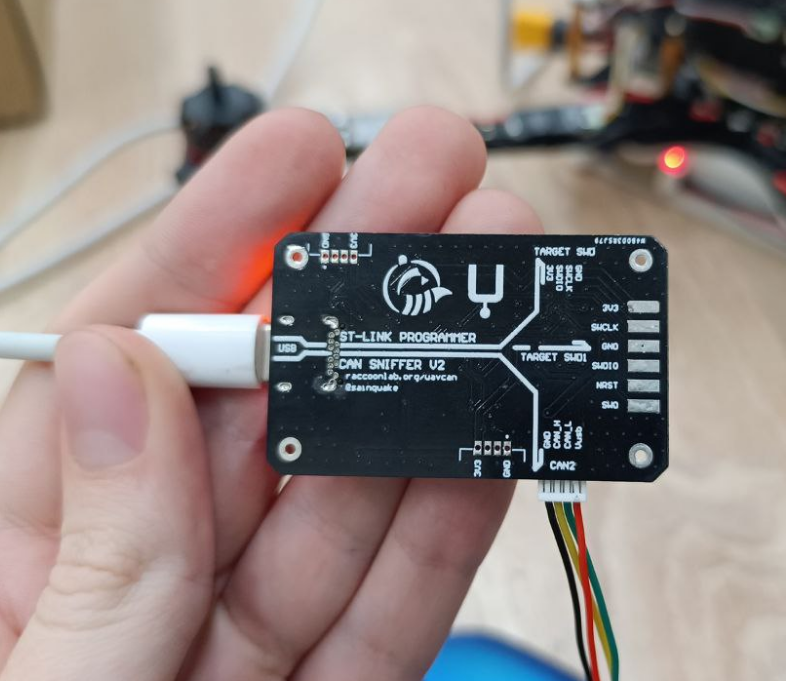 |  |
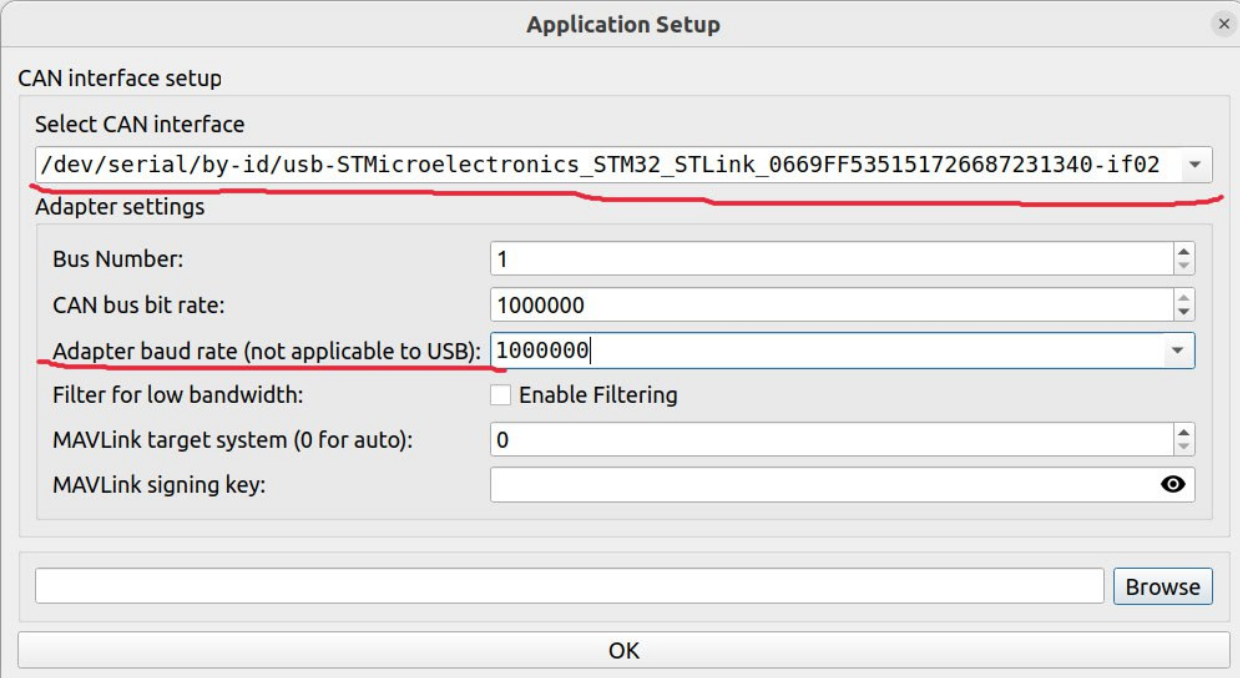
- Run gui_tool (for DroneCAN) or yakut (for Cyphal)
 | 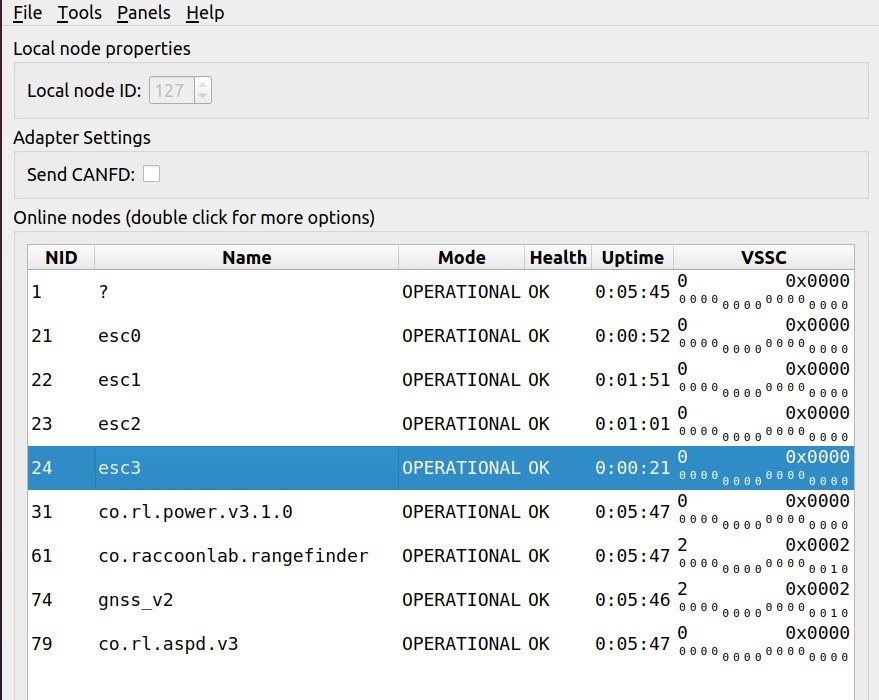 |
In this setyp, GPS_MAG_BARO has configuration by default.
Micro nodes has the following config:
- front right:
pwm.1_ch= 0 - rear left:
pwm.1_ch= 1 - front left:
pwm.1_ch= 2 - rear right:
pwm.1_ch= 3
# 6. Pre-flight tests
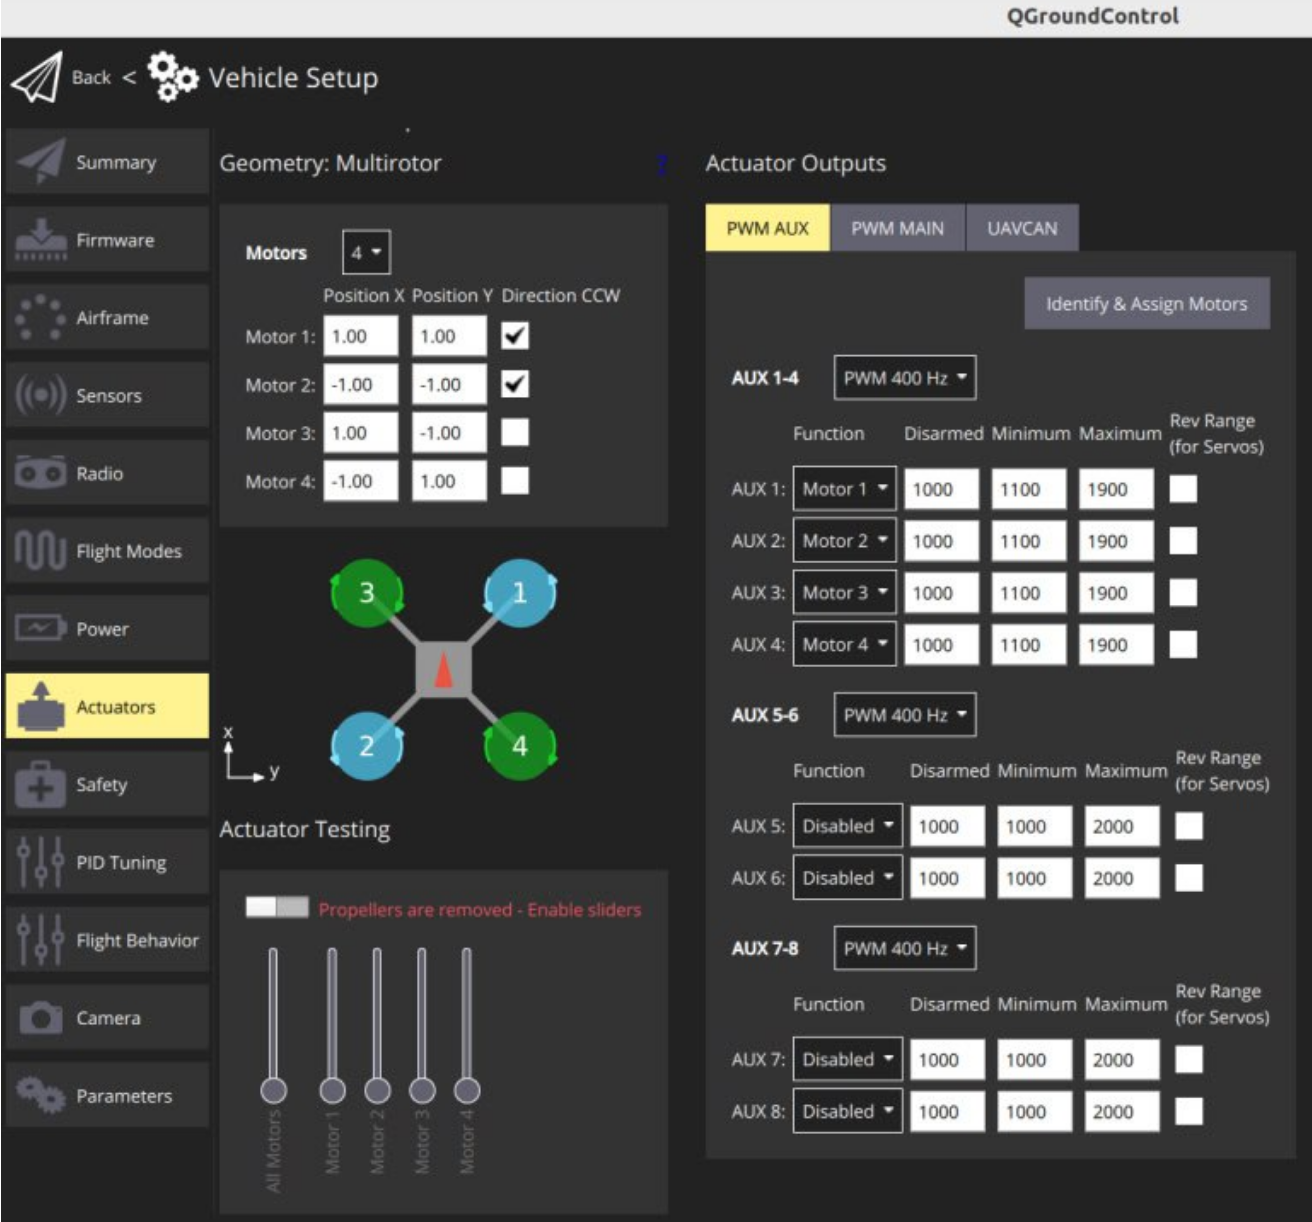
Before a real flight, try QGC Actuator Panel to verify that all motors:
- Correctly enumerated (0 - front right, 1 - rear left, 2 - front left, 3 - rear right)
- Properly calibrated (they should be controlled withing full control range)
- Have correct spin direction
 | 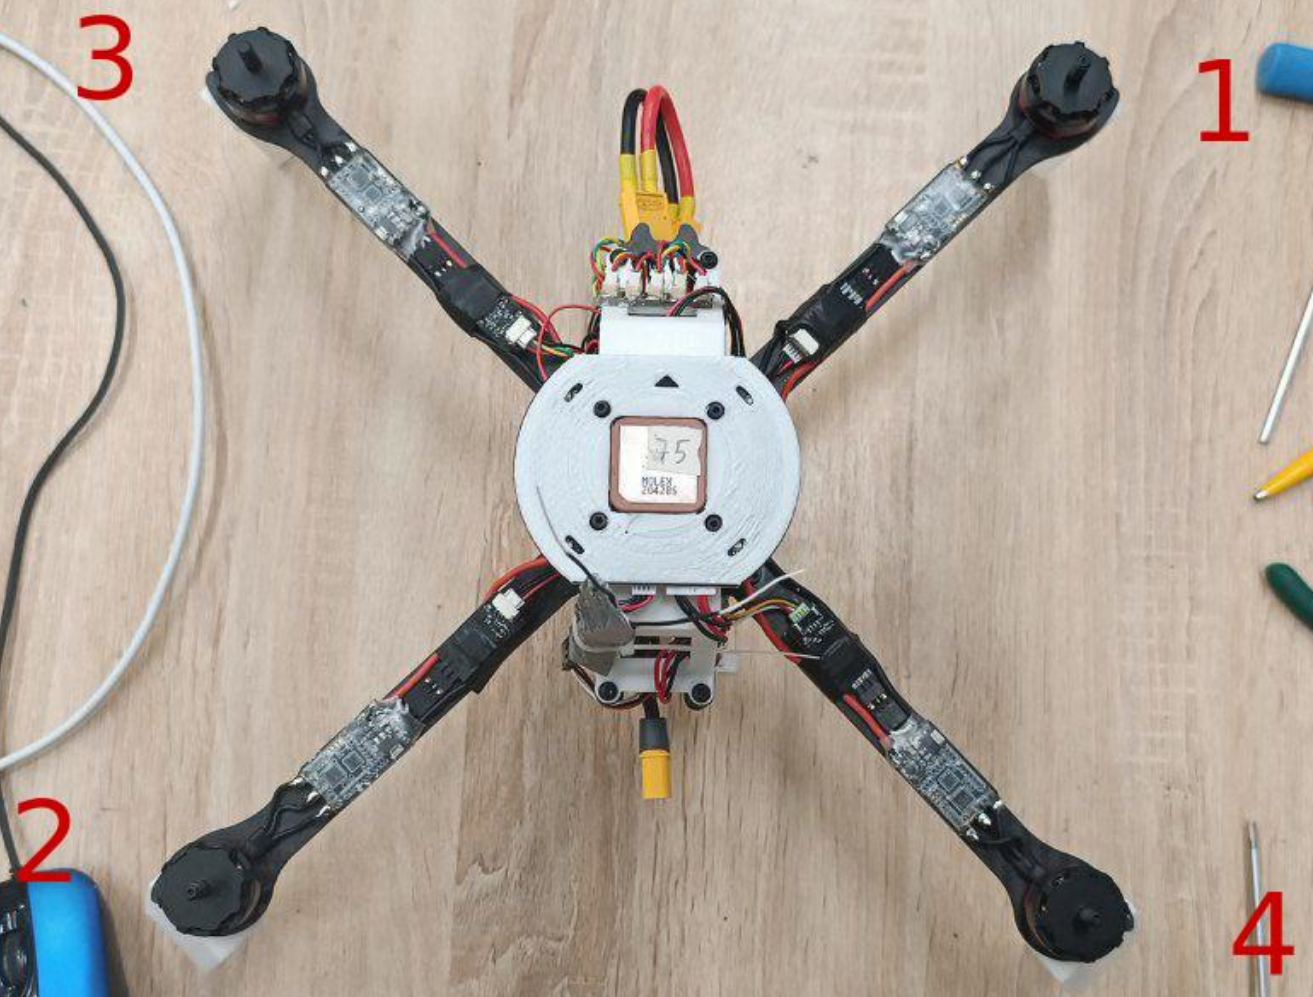 |
Consider advanced testing with HITL simulator.
# 7. Flight tests
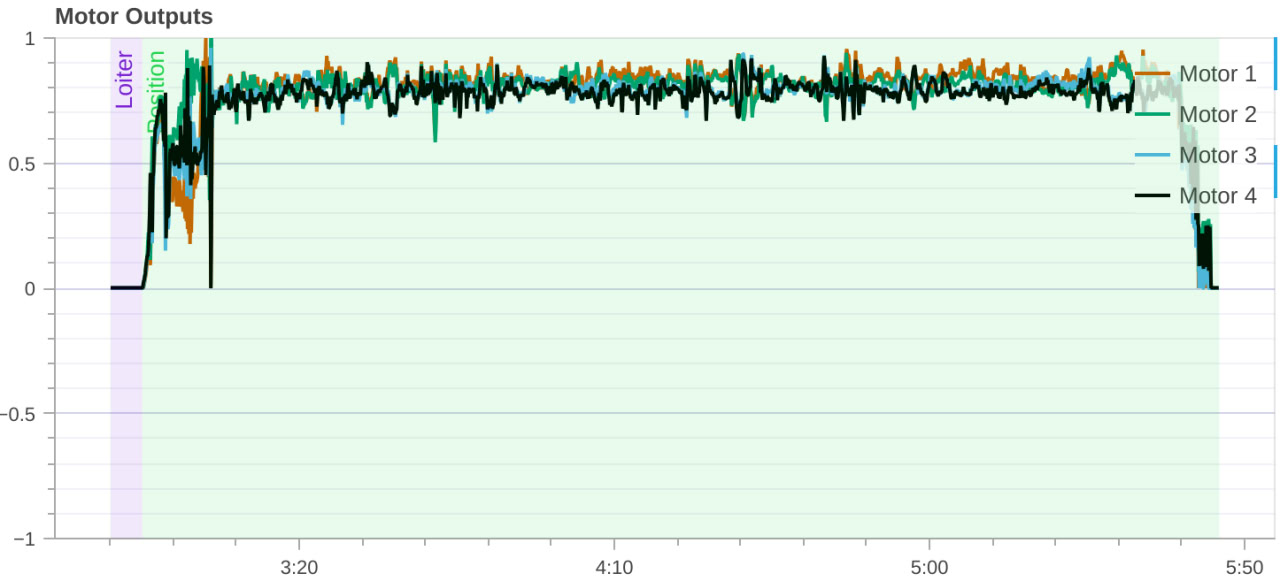
Repostory with flight logs: https://github.com/PonomarevDA/hany_drone
# 8. Post-flight analisys
Use https://review.px4.io/ for flight log analysis:
