# 8. GNSS Shipping guide
# Step 1. Download latest firmware
| Device | DroneCAN | Cyphal |
|---|---|---|
| GNSS v2 (L1 NEO-M8M) 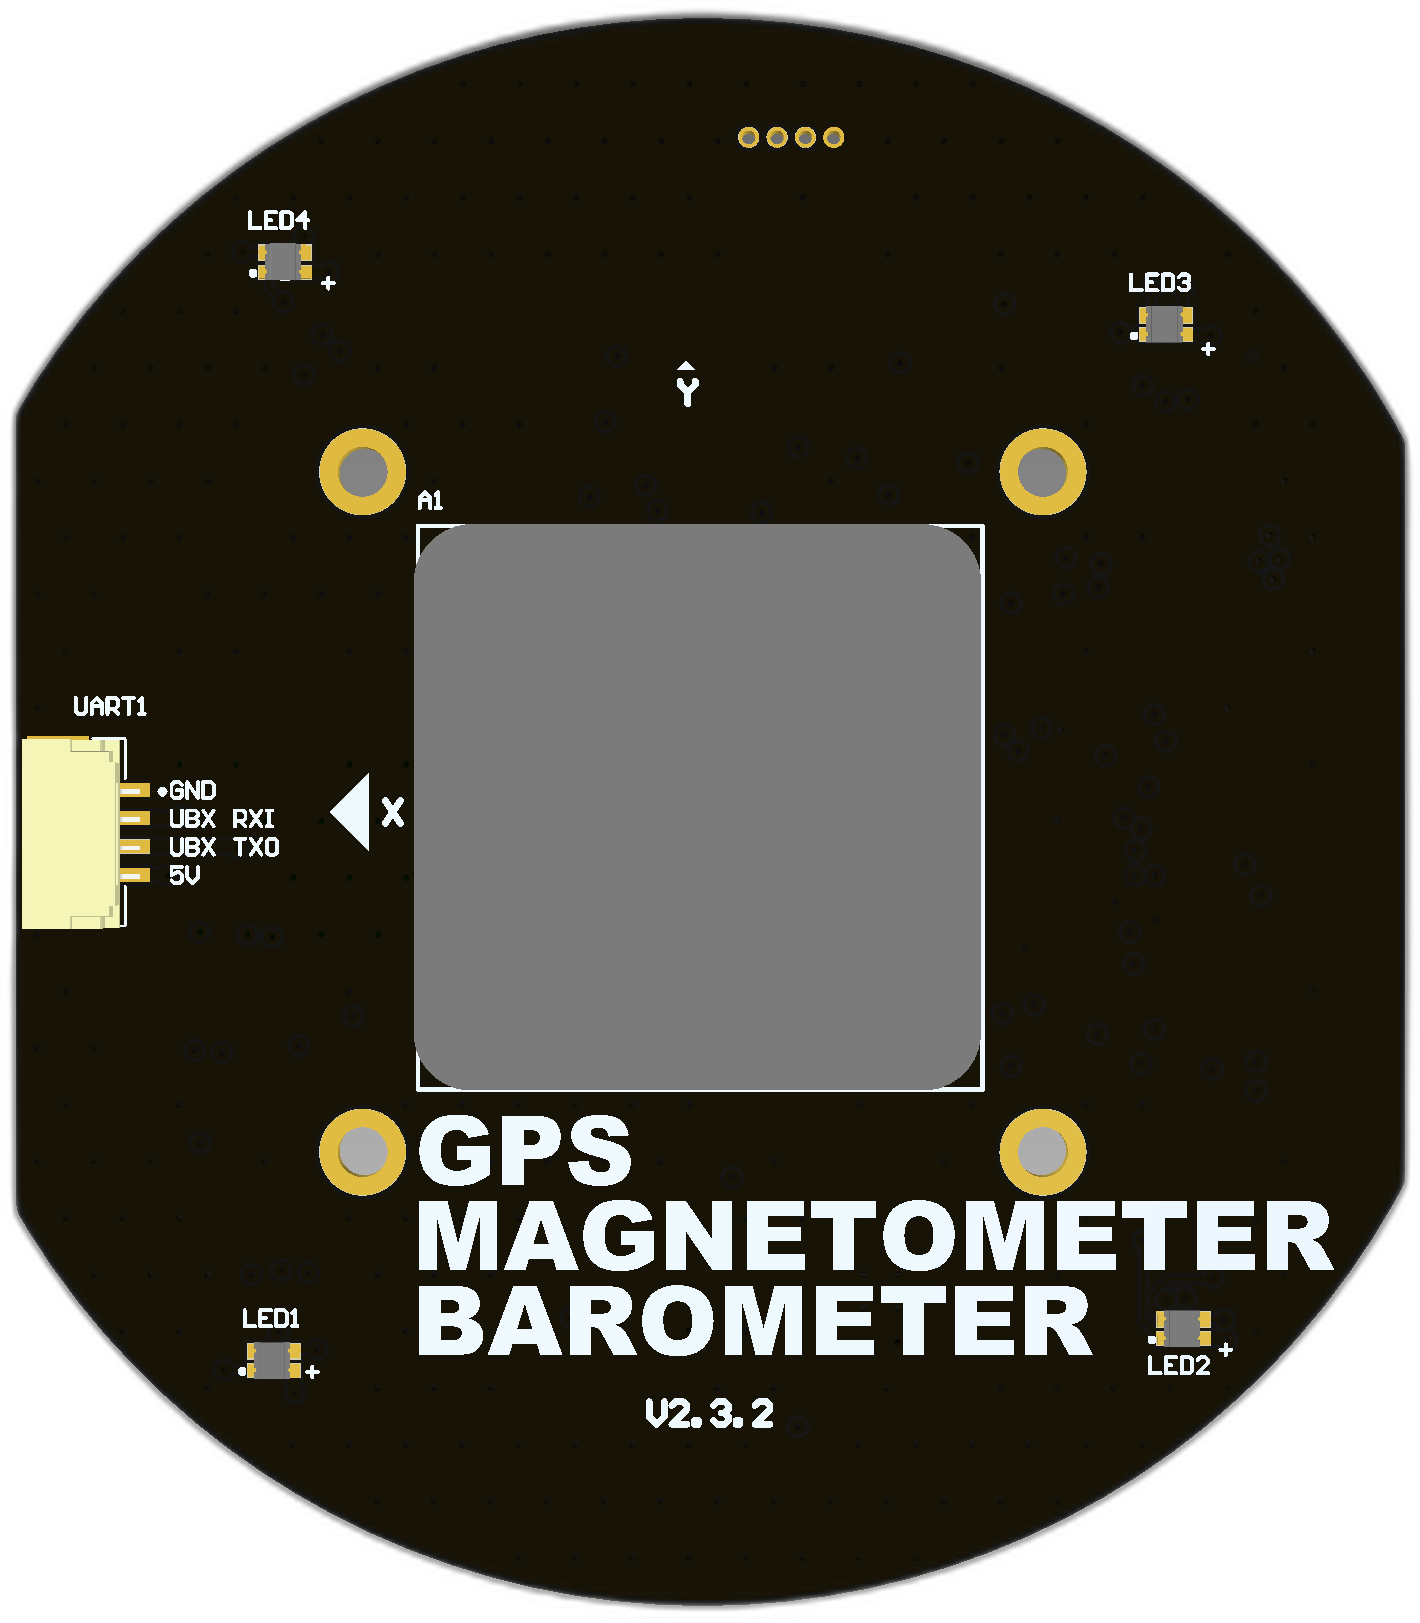 | v0.10.19 (opens new window) (May 17, 2023) | v1.6.5 (opens new window) (Dec 19, 2023) |
| GNSS v3 (L1/L2 ZED-F9P) 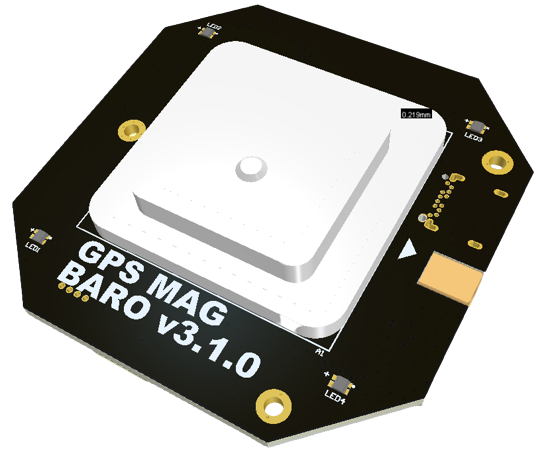 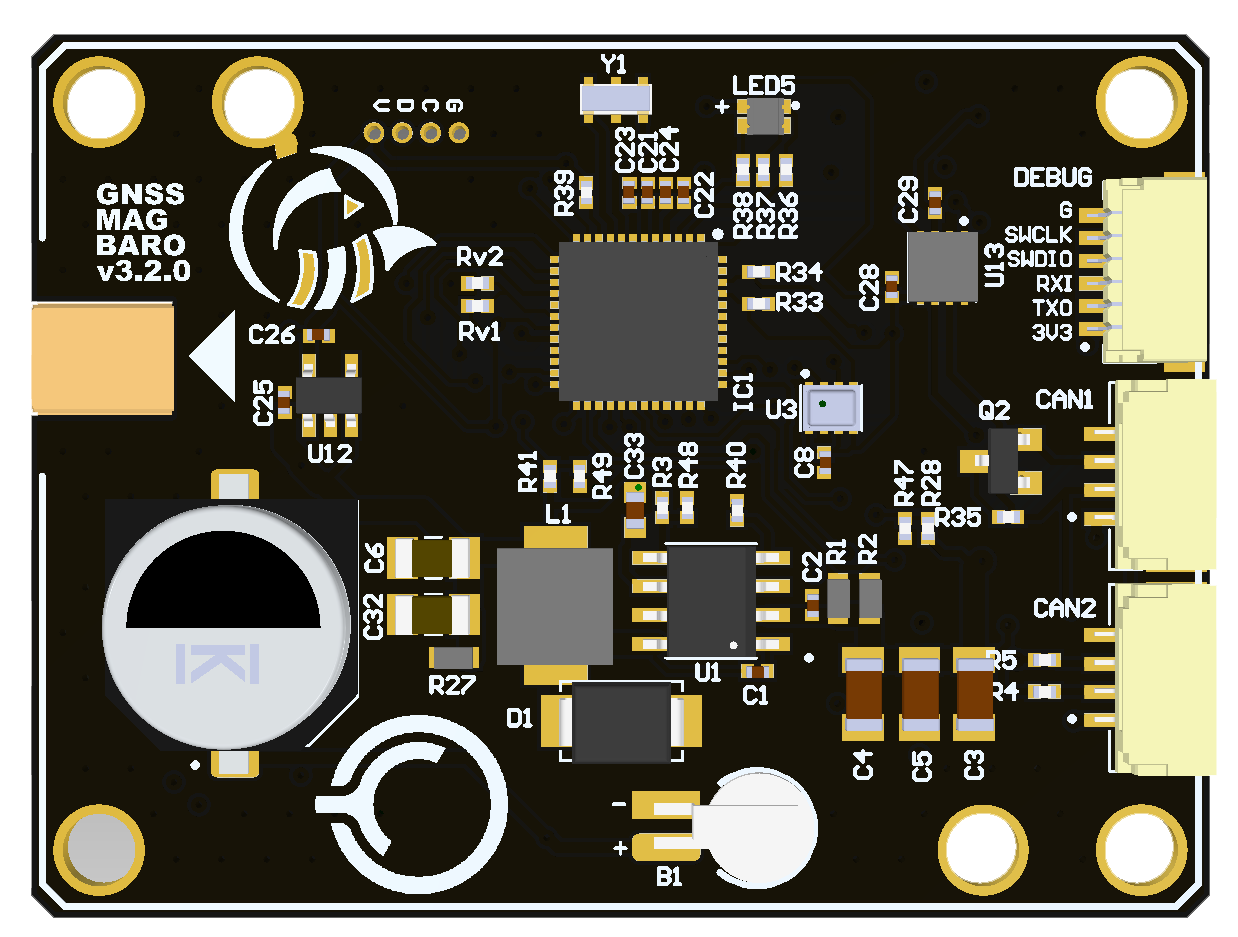 | - | v1.5.4 (opens new window) (Sep 19, 2023) |
# Step 2. Upload firmware
You have a few options here based on what hardware do you have, your OS and preferable software:
| № | Programmer | OS | Software | Tutorial |
|---|---|---|---|---|
| 1 | RL-programmer 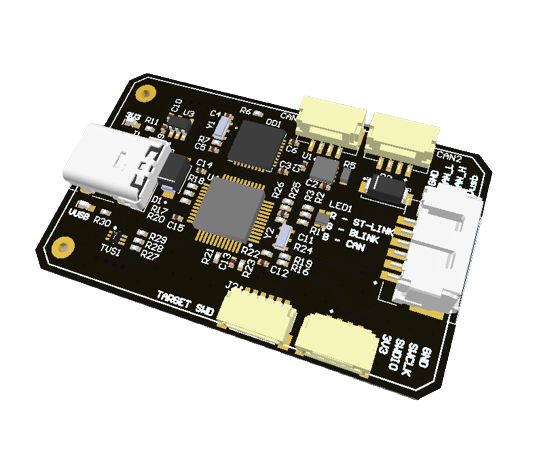 | Windows | STM3CubeProgrammer | RL-programmer on Windows with STM3CubeProgrammer |
| 2 | RL-programmer | Ubuntu | st-link | RL-programmer on Linux with stlink |
| 3 | DronecodeProbe 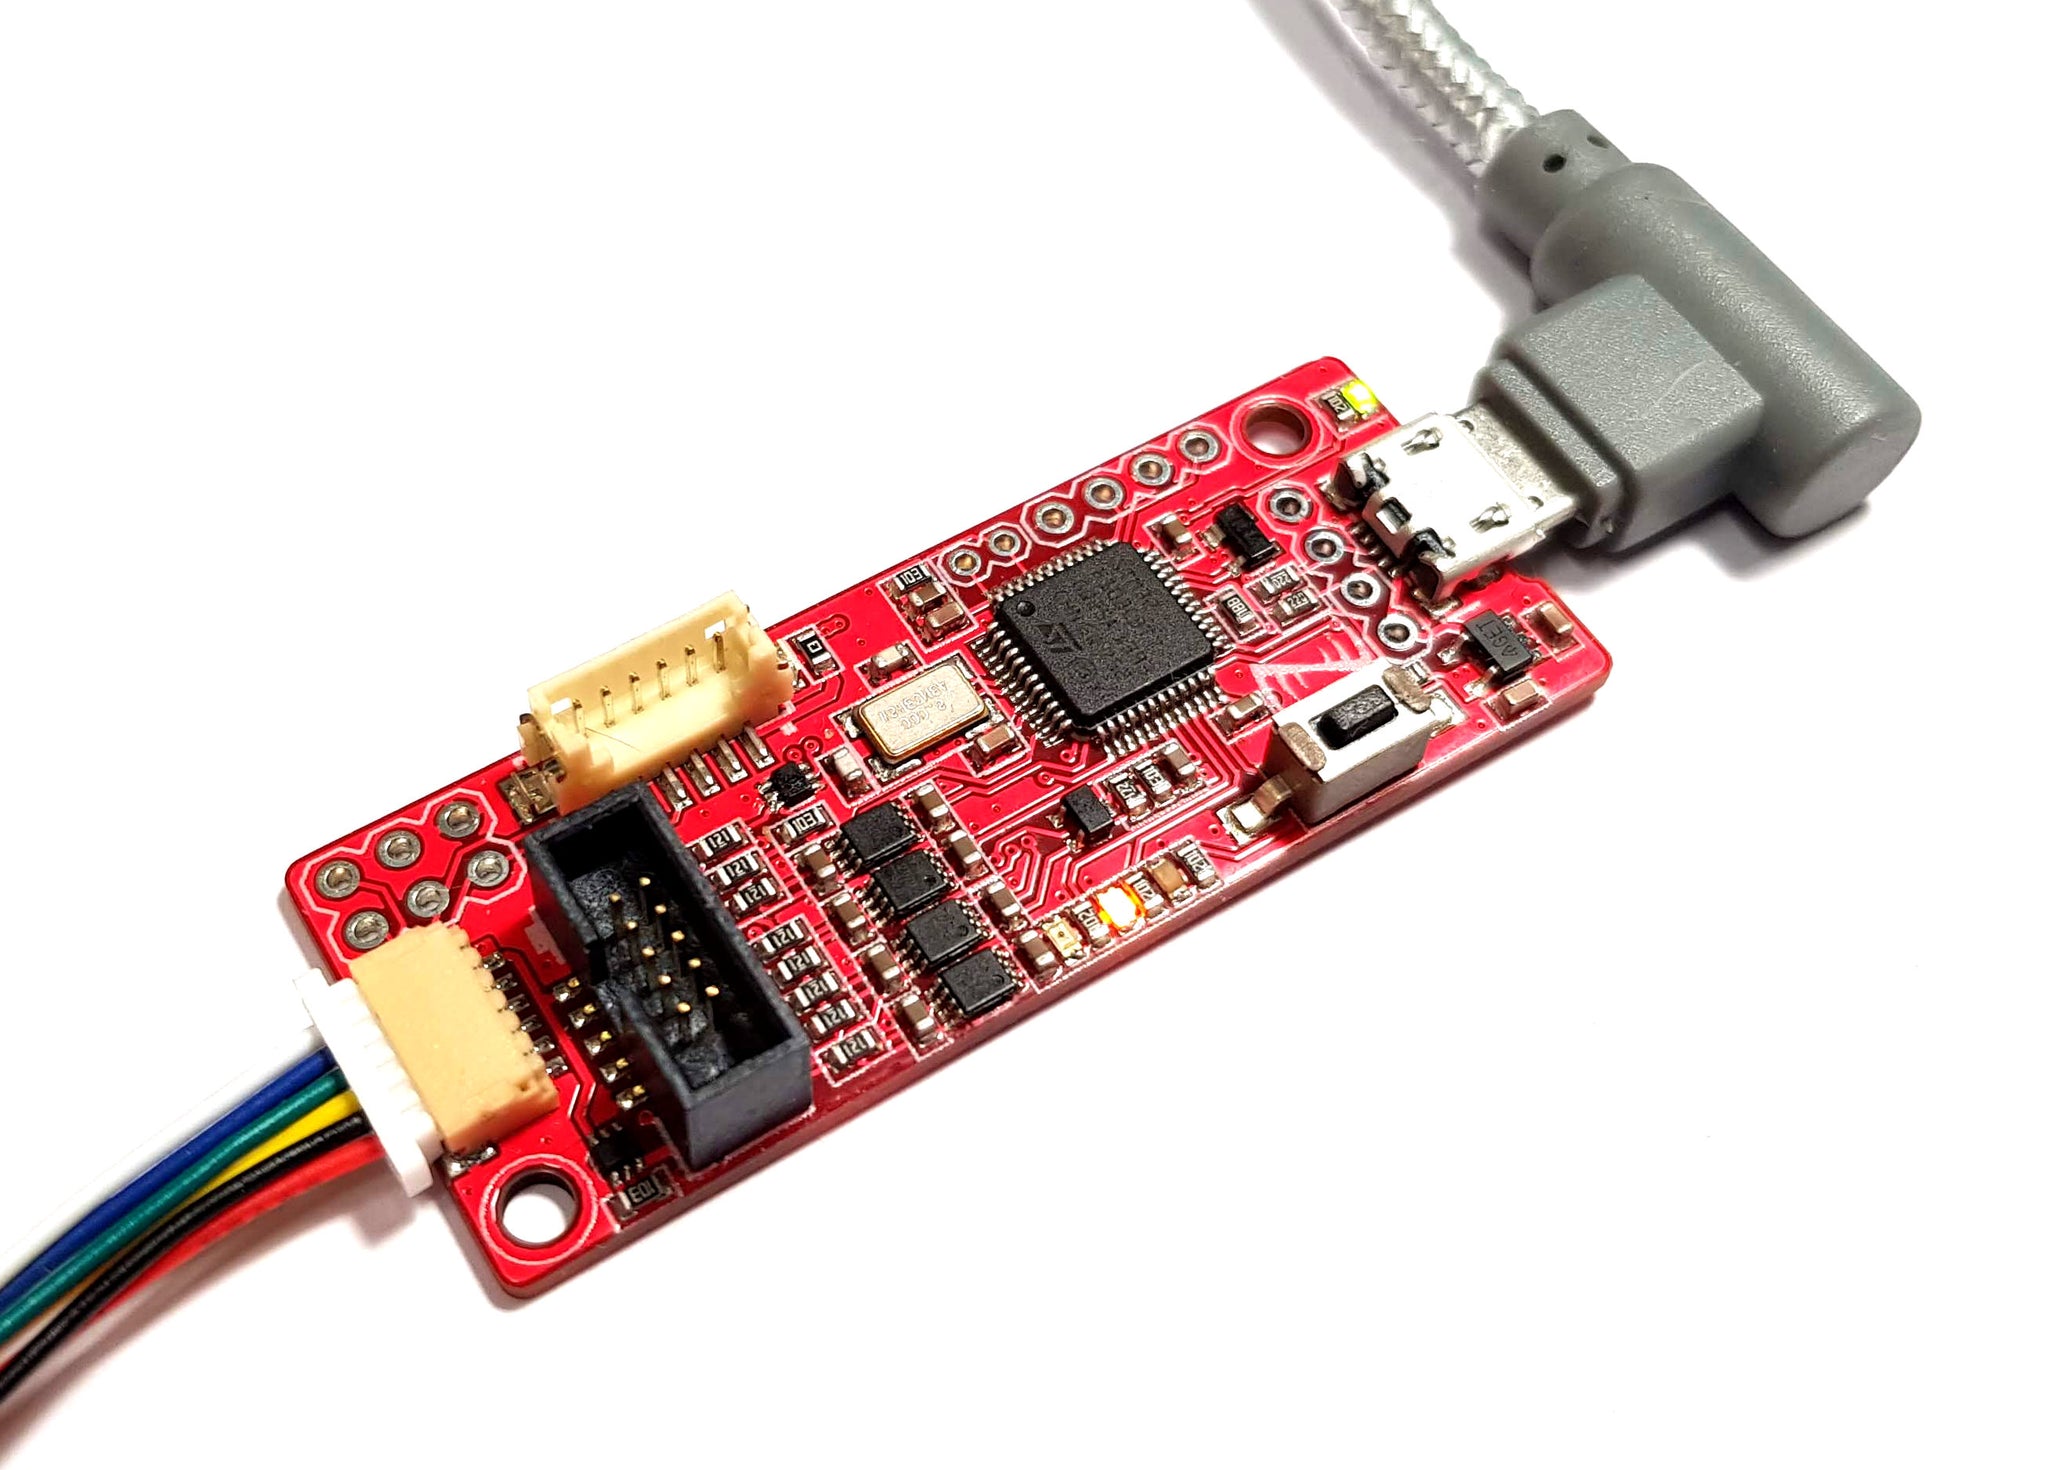 | Ubuntu Windows | gdb | Dronecode probe on Linux/Windows |
| 4 | RL-programmer | Windows | ST-Link utility | RL-programmer on Windows with ST-Link utility |
| 5 | ST-Link | Windows | ST-LINK |
# Step 3. Verification
TIP
It is a good idea to verify multiple devices simultaniously.
Let's say, you successfully uploaded the latest firmware to the target as described on the previous steps.
It's time to verify that everything is fine.
Put the device somewhere where you have a clear view of the sky. The antenna must be facing up.
Power up the device via the CAN connector.
An example of the connection scheme is shown below:

Wait for the GNSS configuration.
First time the device should blink with RED-BLUE colors as shown on the picture below:
It means that the device is in the configuration mode.
It should finish the configuration automatically within 10-20 seconds.
If the device is already configured, it will skip this state and go to the next one.
Wait for the GNSS initialization.
It takes some time for GNSS to receive the information from the satelittes depending on the quality of connection.
In this state the device should blink with PURPLE collor as shown below:
Assuming you have a clear view of the sky, the device should finish the configuration automatically within 3 minutes.
Long initialization can indicate a hardware issue.
Make sure that the device doesn't have other issues.
After the initialization the device should go from TIME_ONLY (BLUE blinking) to 3D_FIX (GREEN blinking) state
 --->>>
Any of these states is good. If you see them, it means that the verification was successful.
WARNING
The following blinking states should be considered as ERROR. They may require an additional diagnostic with Yakut or Yukon. The minimum required info should be: HW version, SW version, health, mode and VSSC:
| Subsystem failed | Critical error |
|---|---|
 |  |